If you are new to candle making or have already made a few candles that were a huge flop, don’t worry. The fact is that we all have to start somewhere and making mistakes is to be expected! It is very normal and a big part of the learning process. Even the most experienced creators and well-known industry professionals, like you, had to start from scratch, and many mistakes were made along the way.
Indeed, for every perfect candle we see shared in our community, there are probably 15 failed attempts that preceded it and were not shared. It is important to remember this to avoid getting discouraged early on. In fact, none of us starts out knowing everything and it takes a lot of work, research, patience and practice to get it right. However, we promise you that making that first perfect candle is incredibly satisfying!
Our guide today is here to help you pinpoint exactly what went wrong and explain how to understand and learn from it during your candle-making journey or to help you avoid these mistakes yourself.
Starting with the right supplies
Candle making can be quite expensive when you first start out. We recommend that you buy only the high-need items for what you need – otherwise, you may feel overwhelmed and a bit upset. The first few months of your journey as a candle maker will be mostly spent testing different combinations of wax and wicks with your scents and chosen holders, so it’s best to limit yourself to the bare minimum and slowly move on once you’ve perfected those first few scents.
Candle making can sometimes be quite stressful and patience is definitely needed, especially while waiting to test your creations! We recommend starting with about 3-5 fragrance oils. Limiting yourself makes it less stressful in the long run and allows you to work at your own pace without feeling rushed, plus you can see it as fun and fully enjoy the process.
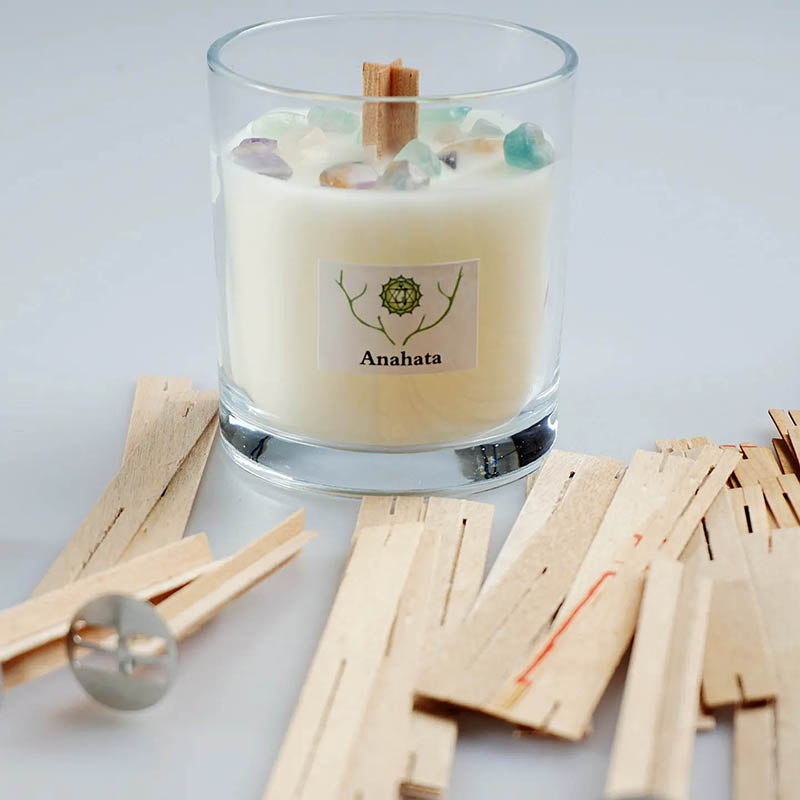
The minimum supplies we recommend to start making candles are:
- 15-25 candle glasses, all the same style (about 5 per fragrance oil to start with)
- A variety of wicks to fit the diameter of the candle glass plus one size larger and smaller in each type
- 3-5 candle fragrance oils, 50ml – 100ml to start with (you can buy our 10ml samples in advance to see if you like the oils before moving on to buying larger sizes if you like)
- 1 kg of container wax from different brands, so you can test which one you prefer to work with in the beginning
- Candle dyes if you want to use color (liquid candle dye or color chips)
- Double boiler (stainless steel pan and melting pot/glass/stainless steel jug) or bain marie
- Pouring jugs made of stainless steel or glass
- Stirring spoons (metal or wood)
- Thermometer (milk or digital)
- Glue dots or wick stickers
- Digital scale
- Wick centering aid
- Old tea towels
- Nitrile gloves
- Apron
- Chemical mask
- Notepad and pen (for taking notes)
As you can see above, quite a few different materials and ingredients are mentioned. Some of these may already be in the house, such as a pan, jugs, thermometer, scales and so on.
Adding the right amount of fragrance oil
If your candle doesn’t smell much (or at all) after making and curing, one factor may be the amount of fragrance oil you added. You may have added too much or just too little fragrance oil.
This could be because your calculations were incorrect for the percentage you used or because you used a percentage of oil that the wax cannot hold properly (for example, your wax can hold a maximum of 6%, but you used 10% right away!).
This is one of those easy mistakes we’ve probably all made at one time or another. This part of the manufacturing process can be even more confusing, especially if you have received advice from others who say they always use 10% no matter what wax they use.
Each wax has a different maximum amount of fragrance oil. Some may contain up to 6%, some up to 10% and some more. Thoroughly researching the wax itself before using it for the first time can help you tremendously and save you some money in the long run.
Remember to always weigh your wax in grams as well (weight, not volume). For example, one of our 20 cl glasses will fit a combination of 160 g of wax and fragrance oil, which means that if your wax can hold up to 10% fragrance, and you use 8% as a starter for testing, you will need 147.2 g of wax and 12.8 g of fragrance oil (160 x 0.08 = 12.8), giving a total of 160 g.
It is also worth noting that adding more fragrance oil does not always result in the best scent once the candle is cured. In fact, this can cause the candle to burn poorly, so it is always advisable to test a few different percentages at a time within the recommended wax scent load to see which one burns (and smells!) best.
Testing your candle too early
Testing a candle before it has cured for the recommended time may not give the results you expected. This part of the making process requires some patience, but trust us, the wait is worth it for the end result!
What is curing time when making candles?
This step is such an important part of the candle-making process! The curing time allows the fragrance oil to bond well with the wax and wick, which allows the candle to burn best and bring out the fragrance. This may mean leaving your candle untouched for 48 hours to 2 weeks before proof-burning it. The curing time also depends entirely on the type of wax used. Kerosene wax is usually cured within 48 hours, paraffin/soy blends require about 1 week, while other waxes such as soy and vegetable types may require a full 2 weeks.
As we mentioned above, researching the wax before use makes this part of the process much easier, as you will know exactly how long to wait once your candles are made.
Use the same brand/size wick for each combination of fragrance oil, wax and holder
When it comes to candle making, an important factor (and probably the hardest part) to consider is the type and size of wick you use. The same wick will not work for every fragrance oil. Fragrances have different densities, so some fragrances work better with a slightly larger wick and others work better with a slightly smaller wick. Some fragrances even require a different type of wick!
For example, you can use our Coconut & Waterfall Blooms fragrance oil with KeraSoy Container wax in a 20 cl glass with a TCR wick, but use the same wick with Winter Fae fragrance oil in KeraSoy Container wax and find that it does not burn the same. You may need to use a wooden wick or try a totally different wick suitable for use in soy wax, such as our TCR wick.
It can take weeks (sometimes months) to find the right combination, and your tests can range from 5 – 15 candles per fragrance oil before you find what works best. Using color in your candles can also affect how the wick performs, so a handy fact to keep in mind.
Selling your creations with proper labeling and thorough testing
You’ve mastered a few scents with the wax you’ve chosen and you’ve decided you want to give them as gifts to friends and family or sell them and turn your little hobby into a business. Many beginners do not delve into the legal aspects of selling candles and simply start selling without CLP labels or with only a simple safety label. Unfortunately, a safety label is not enough for candles containing fragrance oils.
Every novice candle maker should have at least the basic knowledge of what a CLP label is, regardless of whether they are making candles for personal use or giving/selling them as gifts. If you are making a candle for personal use, there is always a chance that you will want to make a candle to give as a gift to a friend and then you will need a CLP label before giving the candle as a gift.
What is a CLP label?
A CLP label is required by law on all products containing a hazardous substance, such as perfume oil. This label lists all allergens that the fragrance oil may contain and all relevant warnings and precautions plus pictograms if necessary. This label also includes your information (name, address, contact number) so that the customer or whoever received your candle creation can easily contact you if there are any problems.
Each fragrance oil you use has its own CLP information. Unfortunately, there is no universal CLP label because all fragrance oils have different chemical compositions and therefore require their own individual labeling.
We offer a service to create a CLP label and UFI and register your candle with the EU poison center.
What is involved in testing a candle?
Another aspect of selling/gifting your candle creations that most beginners don’t do or aren’t fully aware of is performing the proper tests on each candle combination they create. A “fire test” is highly recommended before you give or sell candles as gifts, and in most cases even if you just make them for your own use. Thorough testing ensures that you get the very best out of your candle.
A “fire test” consists of many different components, including:
Burn tests – how the candle burns every 3-4 hours and how well the candle burns over the diameter of the holder and other points, such as whether there are sink holes, tunnels or soot residue.
Smell tests – what does the candle smell like when it is burning (known as “hot throw”) and when it is not burning (known as “cold throw”), how far away do you smell the candle, is it a strong smell or a subtle smell?
Testing the wick – how well does the wick perform, does it smoke, mushroom or go out?
Other aspects of a burn test include noting the temperatures worked at, the percentage of fragrance oil used, the type and size of wax used, the times and dates the candle was made and first burned, and how the candle was made that you will test.
A fire test essentially ensures that the candle you’ve made burns correctly and safely and, of course, smells great!
You really can’t skip this part of candle making, and it’s good to know that such tests can take several weeks (if not months) because of the curing time of the wax, and full candle burning tests themselves can take several days. For example, a 20 cl glass containing 160 g of wax and oil together can take at least 4 days to fully test, assuming you conduct two 3-4 hour tests per day.
As you can see, there are a lot of factors and components that make up the whole candle-making process. The mistakes you make along the way will help you learn how to correct them, making it much easier to continue on your candle-making journey. We hope these tips help you learn some of the more difficult lessons you’ve learned more quickly, and remember: practice makes perfect!